Layer Composer
Add Node → Compose → Layer Composer
Wire in up to ten pictures, arrange them by hand on one canvas, and the card gives back the arrangement as a single picture. Move things, scale them, rotate them, set their opacity and blend mode, cut out a background, draw and write on top.
It calls nothing at all: no provider, no model, no cost. The picture is drawn on your own Mac a moment after each change, so there’s no strip of results and no Generate button — there is exactly one output and it is always current.
Downstream, it’s an ordinary picture. Wire it into an Image card as a reference, into a Video card as a first frame, into an Upscale — anything that takes a picture takes this with nothing to explain.
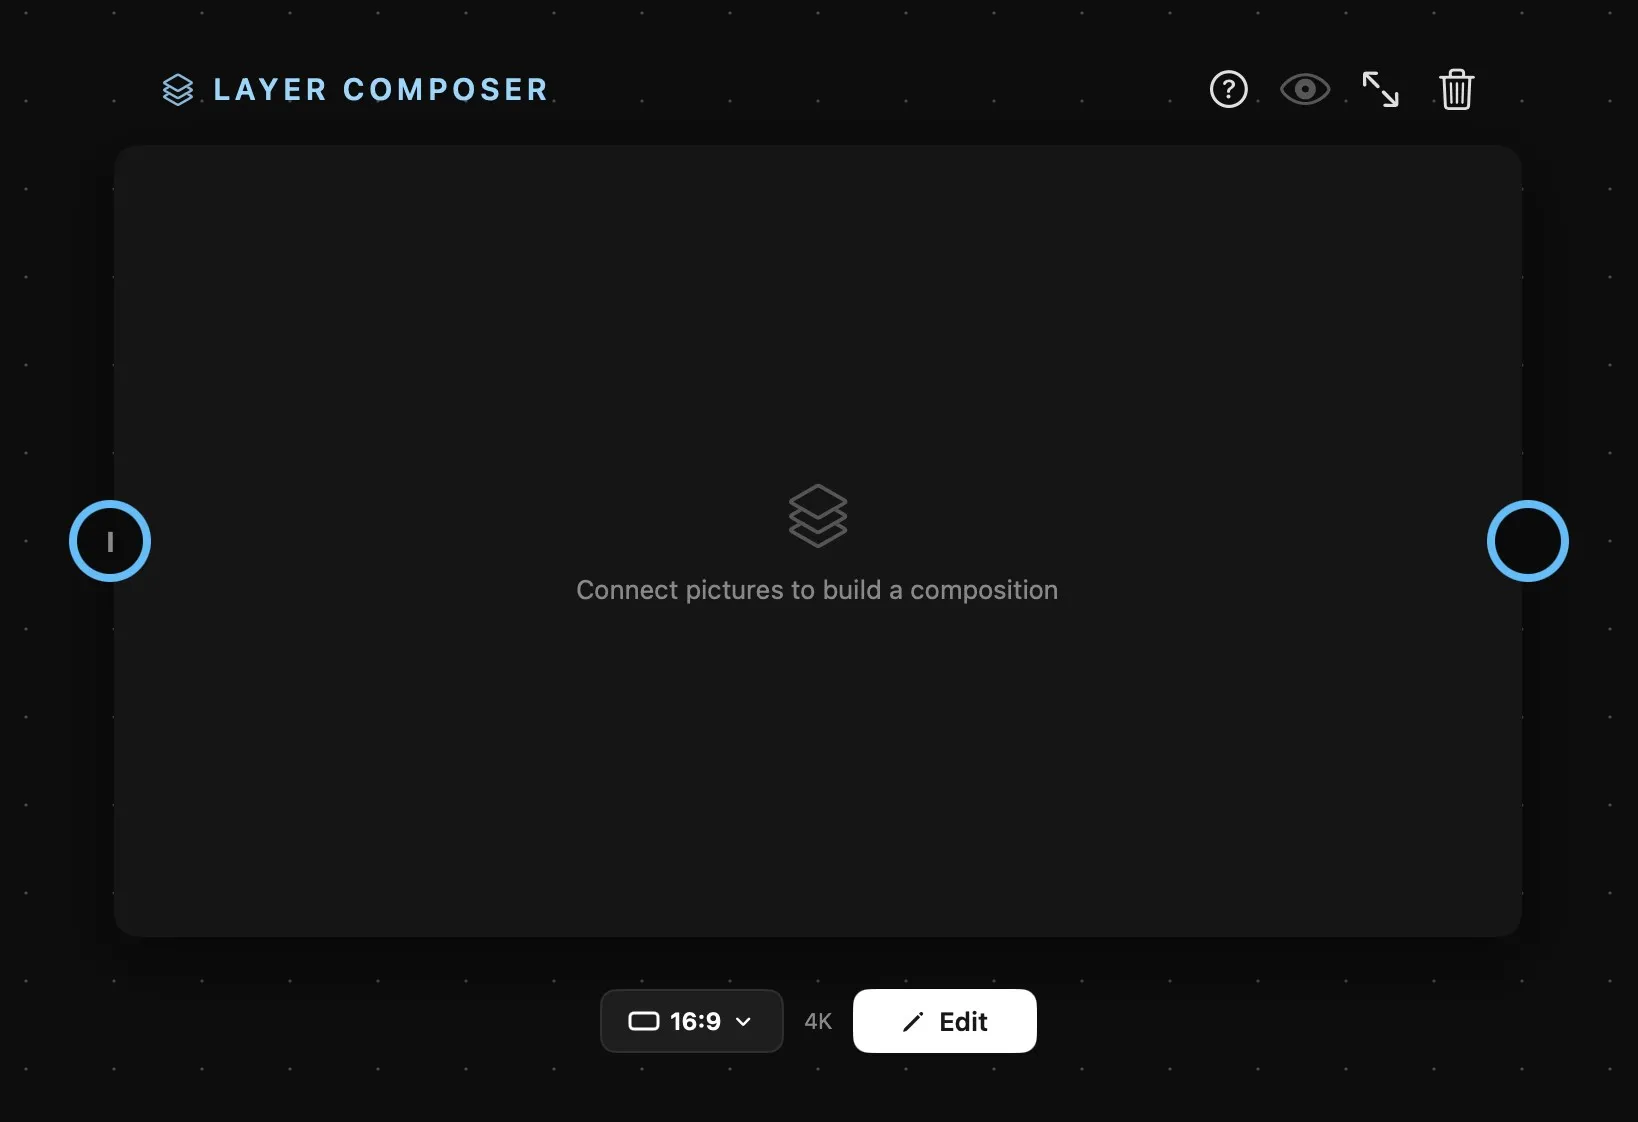
What’s on the card
| Area | What it does |
|---|---|
| Above the card | The card’s name, then help, Preview, reset size and delete. |
| The card | The composition as it stands, in the canvas’s shape. Empty, it reads Connect pictures to build a composition. Double-click it to open the editor. |
| The shape | Under the card: 16:9, 4:3, 3:2, 1:1, 2:3, 3:4 or 9:16. It sits on the card because it decides what the card gives out. A new composer starts on the shape nearest the project’s. |
| Resolution | 4K by default, or 2K, shown under the card and set in the editor. |
| Edit | Opens the editor. |
| 12I | The layers, up to ten. Ring 1 is the back of the stack, the last one is the front. Wire a picture into I and a fresh I appears below. |
| Output | The ring on the right: the composed picture, a JPG. |
There is no “add layer” button, because a layer is an input ring — layers appear by wiring a picture in. And because the rings are the stack, dropping a wire on another ring of the column re-stacks the composition: the layer travels with its picture, keeping its frame, rotation and blend wherever it lands.
A new picture fills the canvas when its shape is close to the canvas’s, and otherwise sits in the middle at its own shape. There’s more on rings in How nodes connect.
The editor
Edit — or a double-click on the card — opens the editor over the canvas: the stage in the middle, with a zoom bar, and one panel down the right with the tools, the selected layer’s properties and the list of layers. Done, or Esc, closes it. There’s no Apply: it edits the card directly, the card redraws as you go, and the whole session is one step of Undo on the canvas.
On the stage, drag a layer to move it, grab a corner to resize it, and turn it. Use the panel for anything you want to be exact about:
| Control | What it does |
|---|---|
| Position and Size | In canvas pixels, with Keep proportions to hold width and height together. |
| Alignment | Snap the layer to the canvas’s left, centre, right, top, middle or bottom. |
| Rotation | Turning about the layer’s own centre, plus flip horizontally and vertically. Reset Frame puts it back centred, upright and unflipped. |
| Opacity | 0 to 100%. |
| Blend mode | The usual ones — multiply, screen, overlay, soft light, difference and the rest. |
| Fit, Fill or Stretch | How the picture sits inside its frame: Fill covers it, Fit letterboxes inside it, Stretch distorts to match. |
| Remove Background | Cuts the layer’s subject out, on this Mac, for this composition only — the picture you wired in stays as it was. Restore Background brings it back. |
The layers list runs front first, with the canvas at the top. Drag a row to re-stack — the rings follow — or bring a layer forward, send it back, lock it so it can’t be moved by accident, or remove it, which unplugs its wire.
The canvas has its own settings: shape, resolution (2K or 4K, naming the long edge whichever way the canvas is turned) and background colour behind every layer. Switching between 2K and 4K scales the whole canvas, so nothing in your arrangement moves — it just comes out sharper. Do it whenever you like.
Drawing and writing on it
Next to Select in the tools are Paint and Erase, then text, rectangles, circles and lines — each on its own layer above the pictures. They’re kept on the card and drawn into the output like everything else, so a caption or a callout you draw here comes out in the file.
3D layers
A 3D object wired into a Layer Composer arrives as a layer you can still turn. Drag it to turn it — ⌘-drag moves the layer instead — and use the 3D Object section of the panel for the rest: the texture switch and the colours, spin, tip and lean, Reset View, and Match 3D Card to take the view of the card it comes from.
The layer’s view is its own. It’s seeded from however the source is facing the moment the wire lands, so the composition opens showing exactly what you plugged in; from then on the two are independent. Turning the layer doesn’t move the source, and turning the source doesn’t move the layer — which is what lets two compositions show the same object from two different angles.
What it’s for
Three jobs it does better than anything else here:
- Building a reference by hand. Put the product on the left, the character on the right, the background behind both, and wire the result into an Image card as a single reference — instead of hoping a model reads three separate pictures the way you meant.
- Framing a first frame. Compose the exact opening shot, then send it to a Video card.
- Finishing. Titles, watermarks, a caption, a logo in the corner — the last thing a picture passes through before it’s exported.
Because it’s always current and costs nothing to redraw, it’s also the cheapest thing on the canvas to fiddle with.